


Note to non-crafters: The goal of this blog and all that I do online is to encourage women in their walk with Christ, to be the wives, moms, friends, sisters, and daughters that they are called to be. If you are not a crafter, or if crafting stresses you out, then don’t put silly pressure on yourself by reading this post and feeling like your paper letter/number tent isn’t good enough. It’s perfect! Go with it! If you enjoy simple crafts and it energizes you then you will LOVE this DIY Wooden Name Sign
My children are in second and third grade and we homeschool as many of you know. They still have tendencies of writing numbers and letters backward and are in the process of learning the cursive version of their names along with how to spell their middle names.
Having numbers and letters along with their name visually available to them is super important throughout our school day so that I don’t have to constantly show them how to write! Up until this point I have always used a tented white laminated paper with letters and numbers on them (which are awesome!).
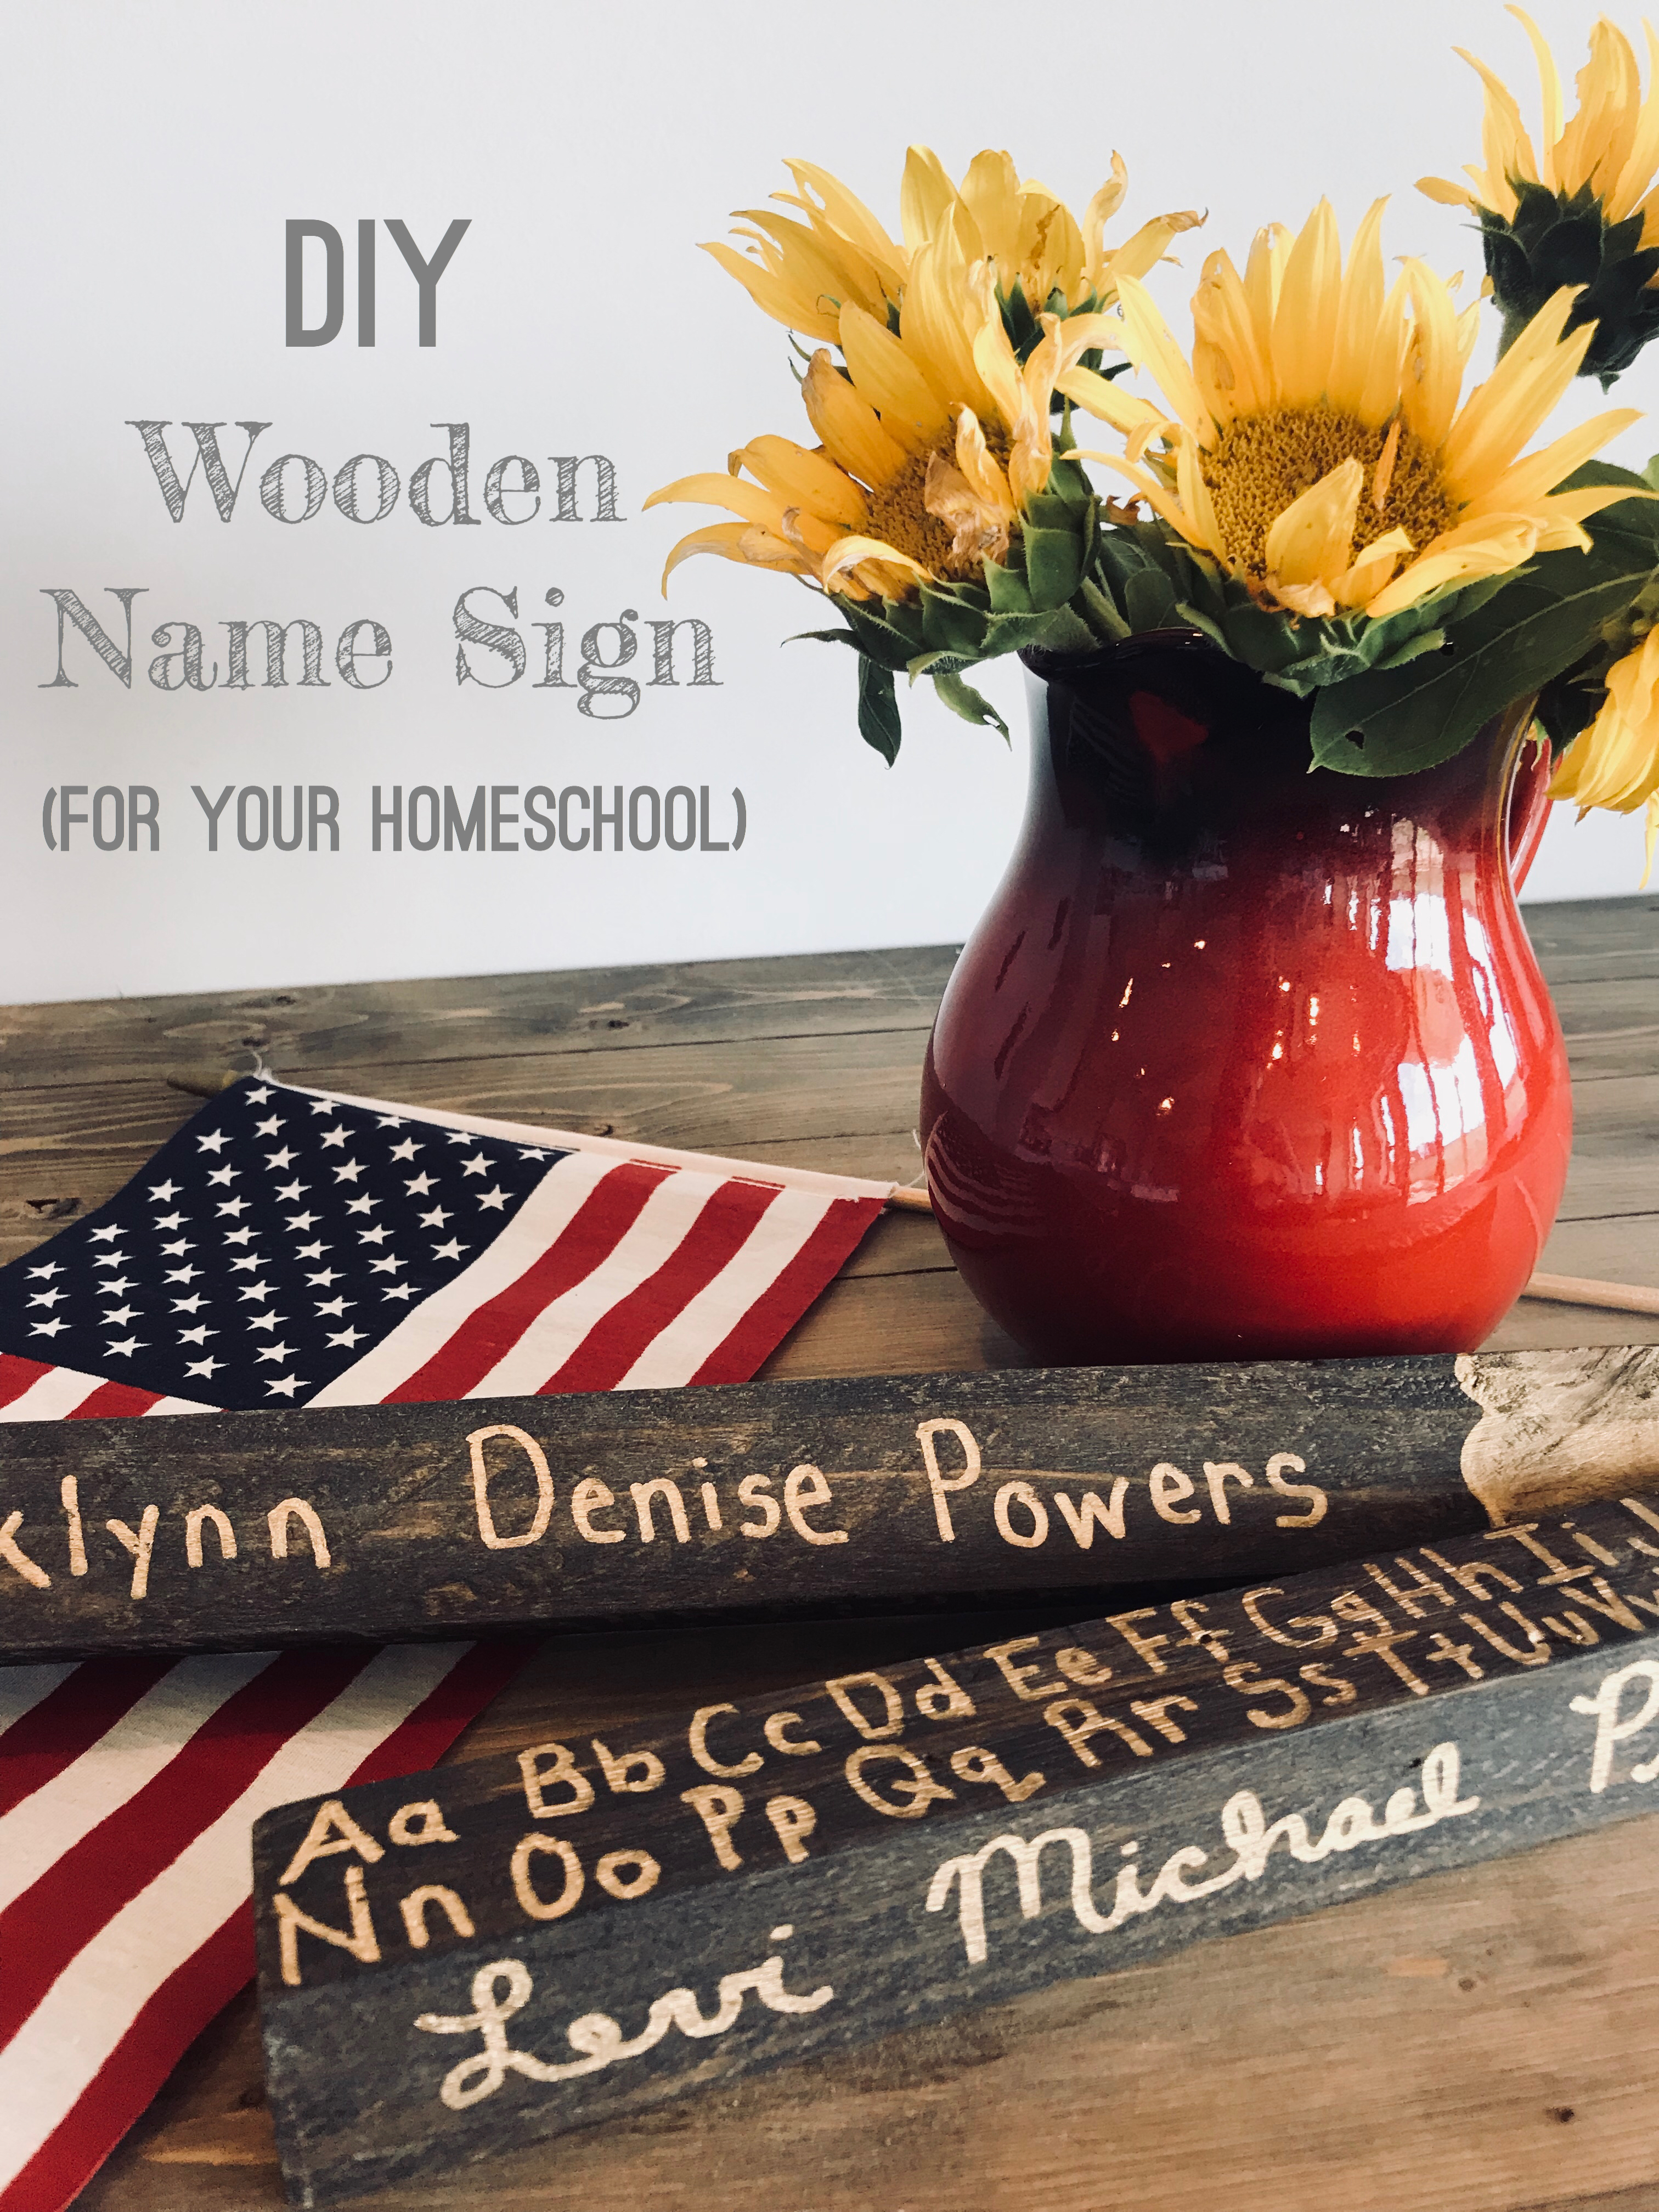
But because I love pretty things, I decided to craft some that were a little more aesthetically pleasing to me and my homeschooling room decor. Yep, I wanted them to match my house. Also, I had something big and important to do, that I didn’t feel like doing and this was a great way for me to procrastinate… (confession). What can I say?! I am a total procrastinator and pretty things make my heart happy (you too? You get me then).
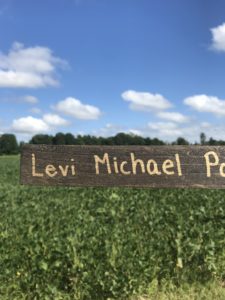
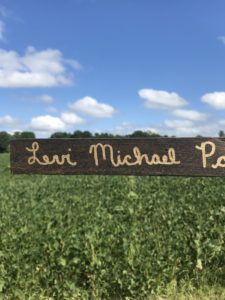
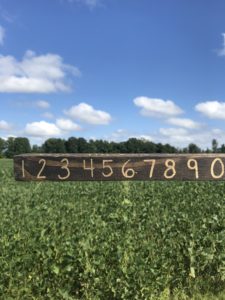
I had these wooden pieces lying around and I originally just wrote their names (print and cursive) on them with gold paint markers (I LOVE GOLD ACCENTS), then I was like, “Hmmm what do I do with the other two sides?” As we were getting ready for this school year, I came across our tented letters and numbers that we have used the last 3 years (that have served us well) and was like… that’s it! I decided to do the alphabet on one of the extra sides and numbers on the other.
It is clearly handwritten and imperfect. But that is what I LOVE about it. It looks great with our homeschooling room decor!
TIP: when doing a craft, don’t let perfection paralyze you. My crafts rarely turn out “Pinterest Perfect”. Simply enjoy the process and make it your own.
Here is a step by step of how I did this very simple craft:
Step 1: Find and stain wood pieces
There is no right or wrong wood piece to use. Any size (long and skinny) will work. The ones that I used are approximately 2”x2”x14”. Don’t let this step paralyze, just find some raw wood scraps that will work and get started.
I stained mine with some leftover stain we had lying around. The stain color I used was this one by Minwax called Jacobean.
How to stain? Simply dip an old clean rag into the stain and wipe it on (or use a paint brush to brush it on) and then use another old clean rag to wipe it off. Let the stain dry completely and repeat until you achieve the desired shade.
Step 2: Write on it with Paint Pens
Once your wooden block is completely dry. Choose your desired paint pen color (I recommend a fine tip especially for the alphabet). I used gold paint pens like these ones. Unfortunately, I used a fatter tip and as you can see, my alphabet barely fit!! But it is what I had, so I went with it. Again, don’t worry about perfection… just go with it.
Decide in advance what you want to write on each side. Here is what I chose: printed full name, cursive full name, Alphabet (upper and lowercase), Numbers 0-9.

How do I center my words?
Have a ruler handy and measure the total length of your piece of wood. Take note of where the center falls. Again do your best, don’t worry about being perfect… it takes the fun out of the craft.
For each side figure out what should fall in the middle. For example in the alphabet, if it is written on 2 lines, A-M should be on the first line with F and G falling approximately in the middle.
If you want to do a fun design on one end like I did… simply don’t inclue that design part when measuring the area you have for writing.
Step 3: Seal with polyacrylic (optional)
Since this is for the kids to use and handle daily. It may be wise to seal it with a Polycrylic or Polyurethane. I personally prefer the Polycrylic over the Polyurethane simply because it does not yellow over time. Be sure to wear a glove and a mask when using. The fumes are strong and yucky.
Let your craft dry completely and that is it!
[ctct form=”868″]
How fun and easy is that!?!
Did you give this a try??
Share your version on your social media and tag me (Instagram and Facebook)
#imperfecthousewifeblog
Can’t wait to see how it turned out!


Be the first to reply